Tutorial ~ Easy Ironing Board Cover

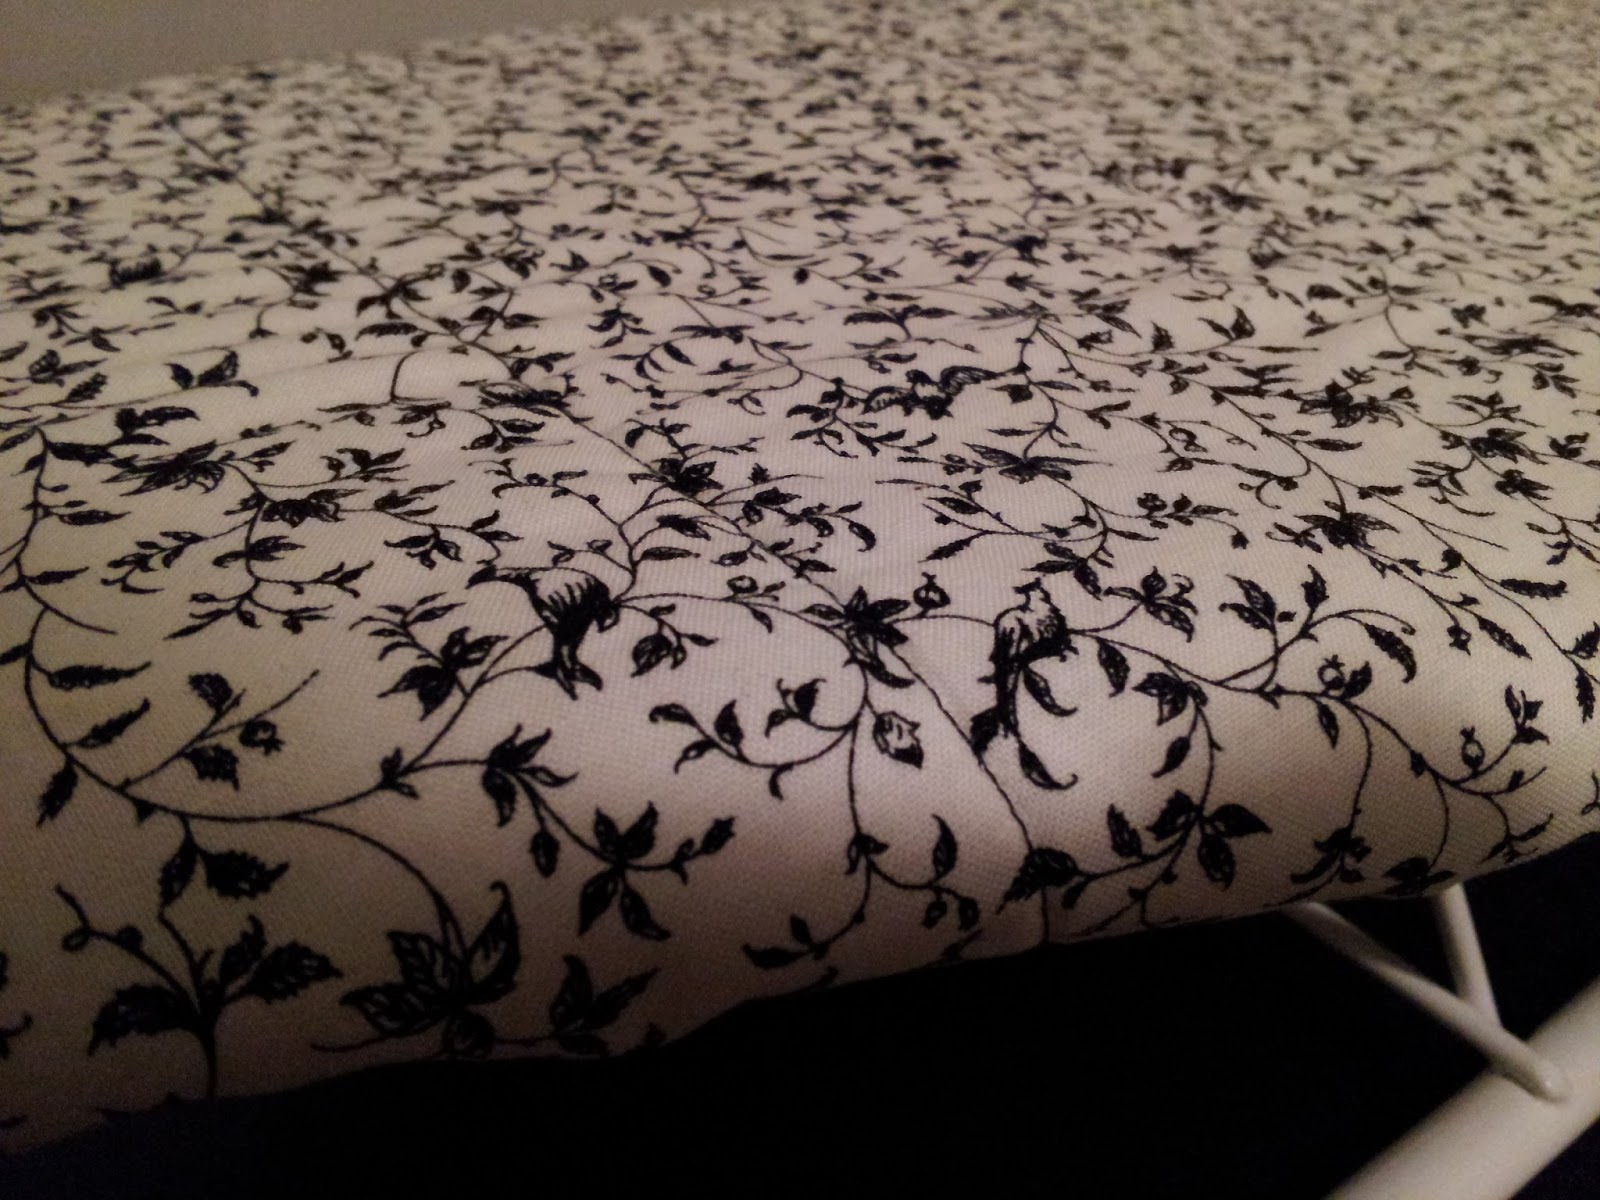
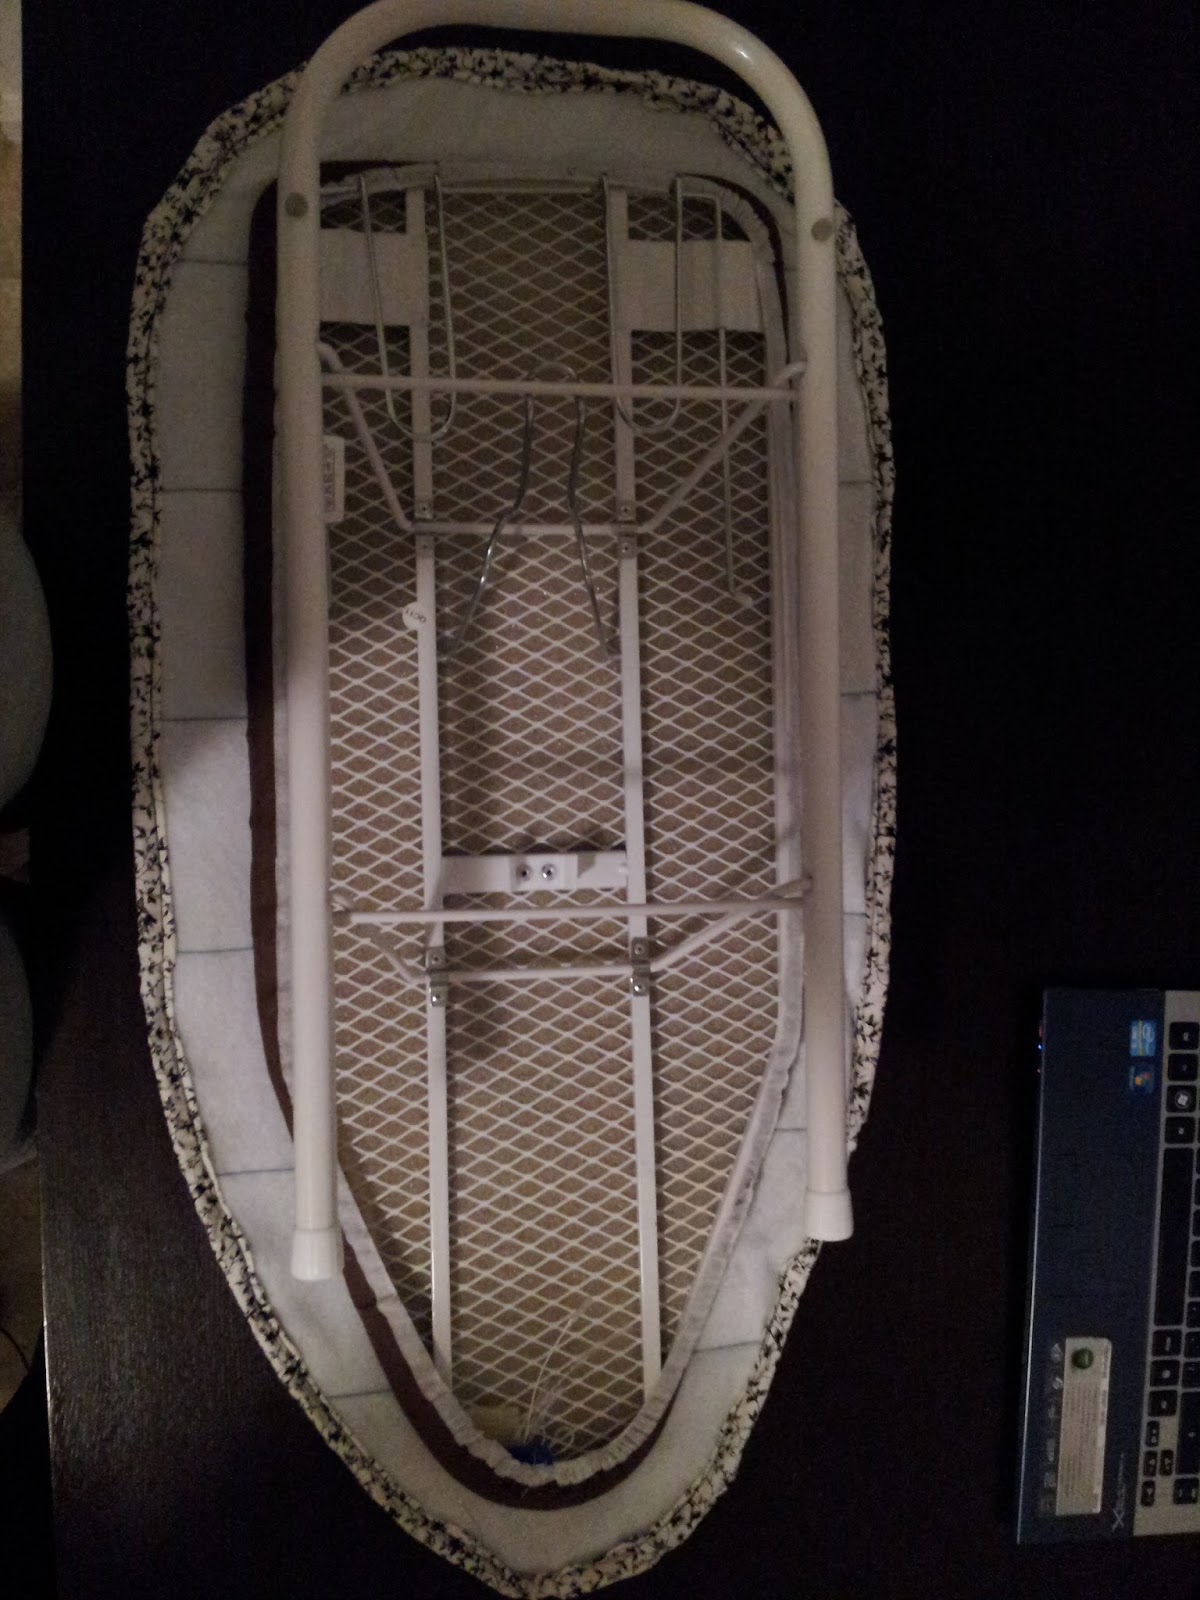
Is your ironing board cover gross, old, boring, or otherwise unworthy of you and the excellent projects you create? Are you like me and you bought a cheap ironing board from Walmart and now everything you iron has a grid seared into it, and you’re beginning to casually question your life choices?

My name is LC, and I have a solution for you, friend.

Today’s blog post is a tutorial to make an easy ironing board cover.

Supplies

100% cotton fabric
Amount
A rectangle the size of the length and width of your ironing board + 6″ (15 cm) for both length and width.
Notes
You can use any material made of 100% natural fibres (linen is another good option, although there’s less selection than with cotton) as long as it lies flat.
I would avoid fabric with cheap metallic or sparkles on it. High-quality metallic cottons, like what you get from Northcott or Camelot might work. I would probably test them under an iron first.

Heat resisting or insulating batting
Amount
A rectangle the size of the length and width of your ironing board, plus 4″ (10 cm) for both length and width.
Notes
I used one layers of insulated batting, but keep in mind that I just added to the cover already on my ironing board. If you cannot salvage the insulation from your original cover (usually looks like foam), you might want to add a second layer of batting. You can use just plain, cotton batting for the second layer, if you want.
Alternatively, if your current ironing board cover is thick enough, and you just want to cover the fabric, you don’t need to use any batting at all.

Cording
Amount
The perimetre of your ironing board + 2′ (60 cm)
Notes
Preferably cotton and thin. Pictures of what I used
below.

Straight Pins
I would suggest glass-headed or another variety that you can iron over.

Matching cotton thread
A good brand like Guetterman or Mettler. Should be 100% cotton, as synthetic fibres may lose strength or even melt when exposed to high temperatures from an iron.

Fabric marker or chalk
Preferably one that disappears or washes out, but not necessary. All markings in this tutorial should be on the wrong side of the fabric.

Measuring tape
Optional, if you’re confident eyeballing 1 or 2″.
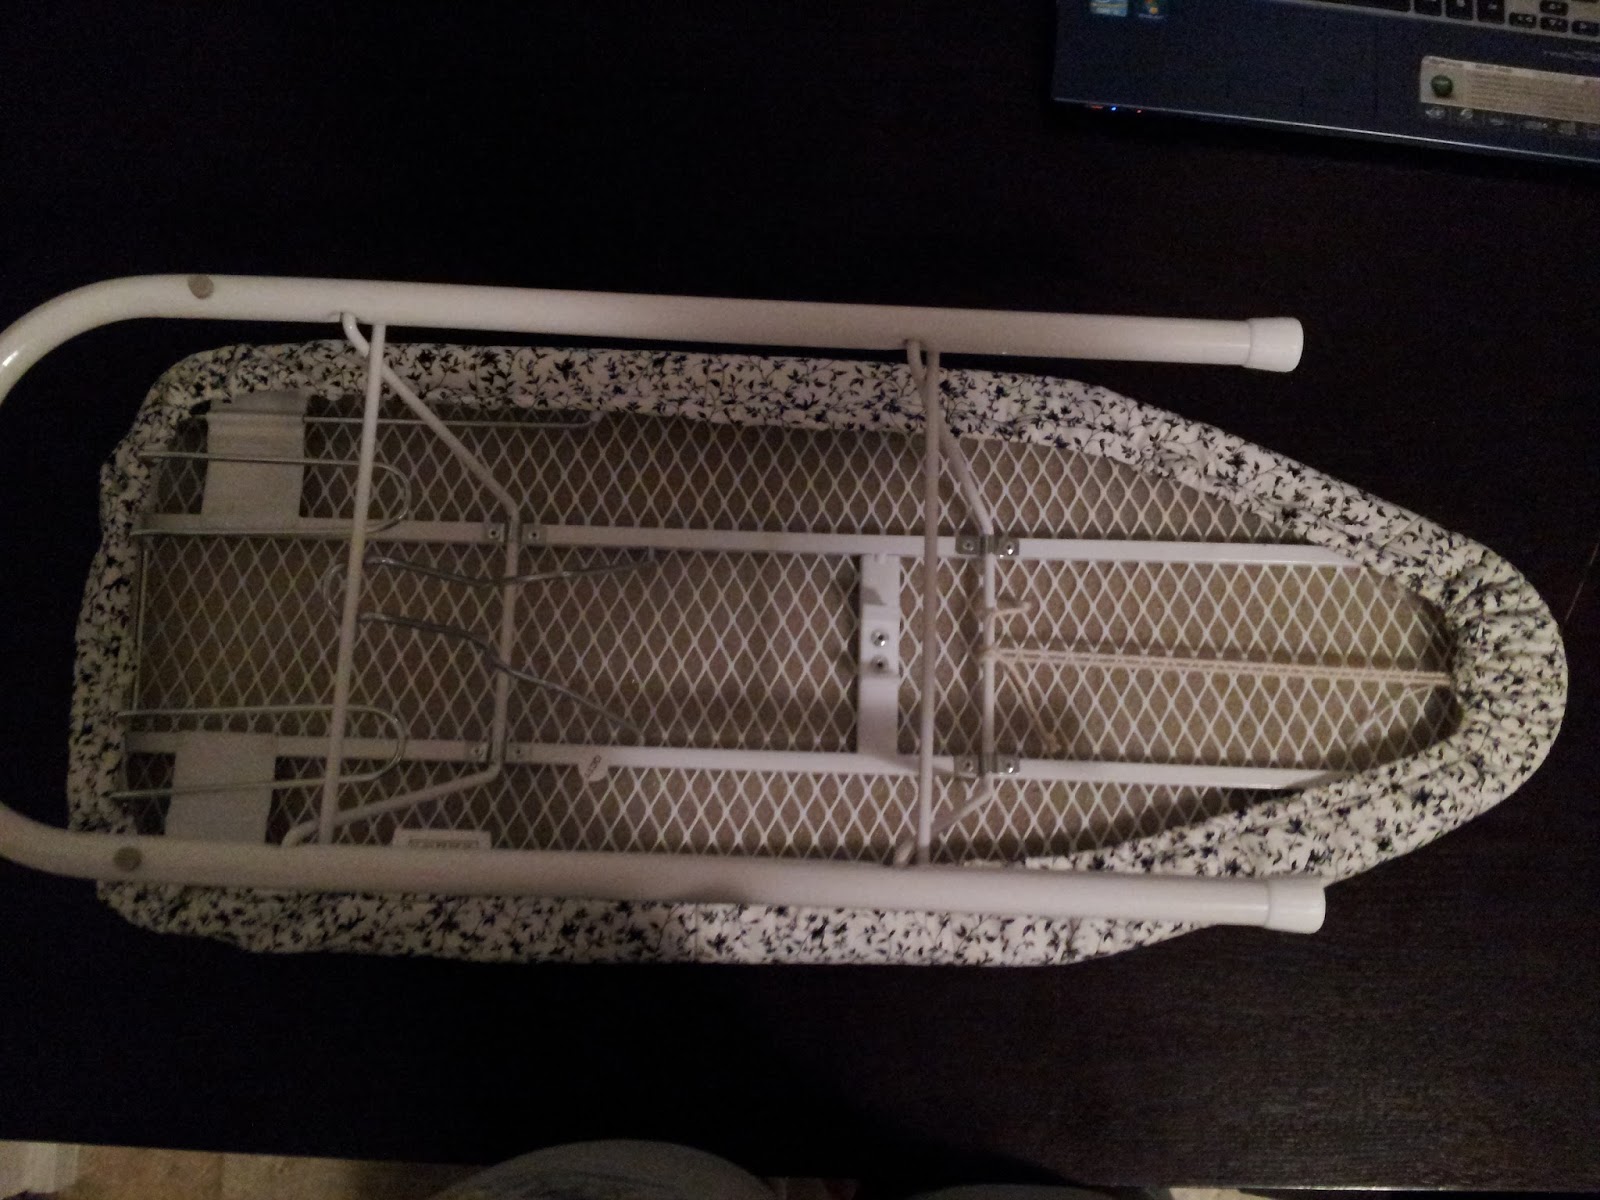
Your ironing board
You’re going to use it an a stencil.

Curved safety pins or 505 spray
Optional. You can quilt the batting to the fabric, which is highly recommended if you plan to wash your cover in the future or if you use a cotton/wool batting.

Instructions

1. Cut your batting

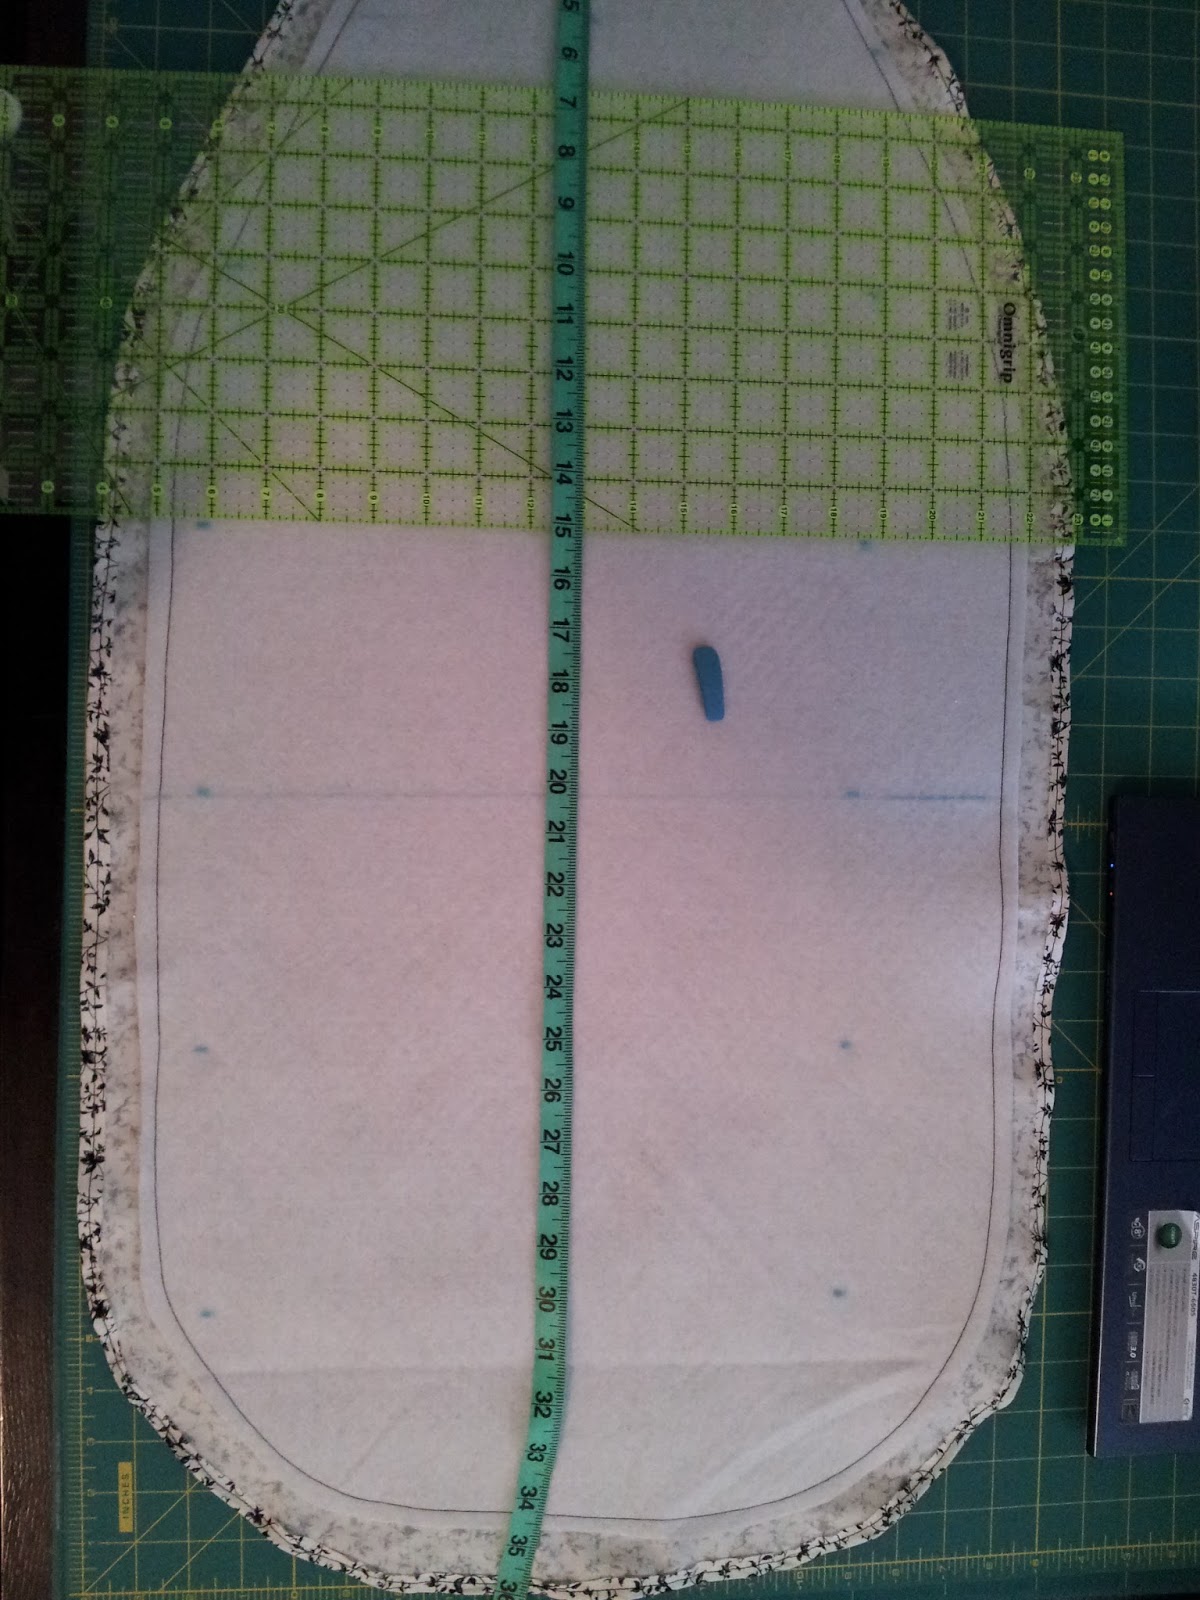
Lay your ironing board on top of your batting and use a marker/chalk to create an outline 2″ (5 cm) from the edge of your board. Cut this outline out. Repeat if using more than one layer of batting. (You can eyeball this, if you’re confident, or you can measure it out)

2. cut your cover fabric

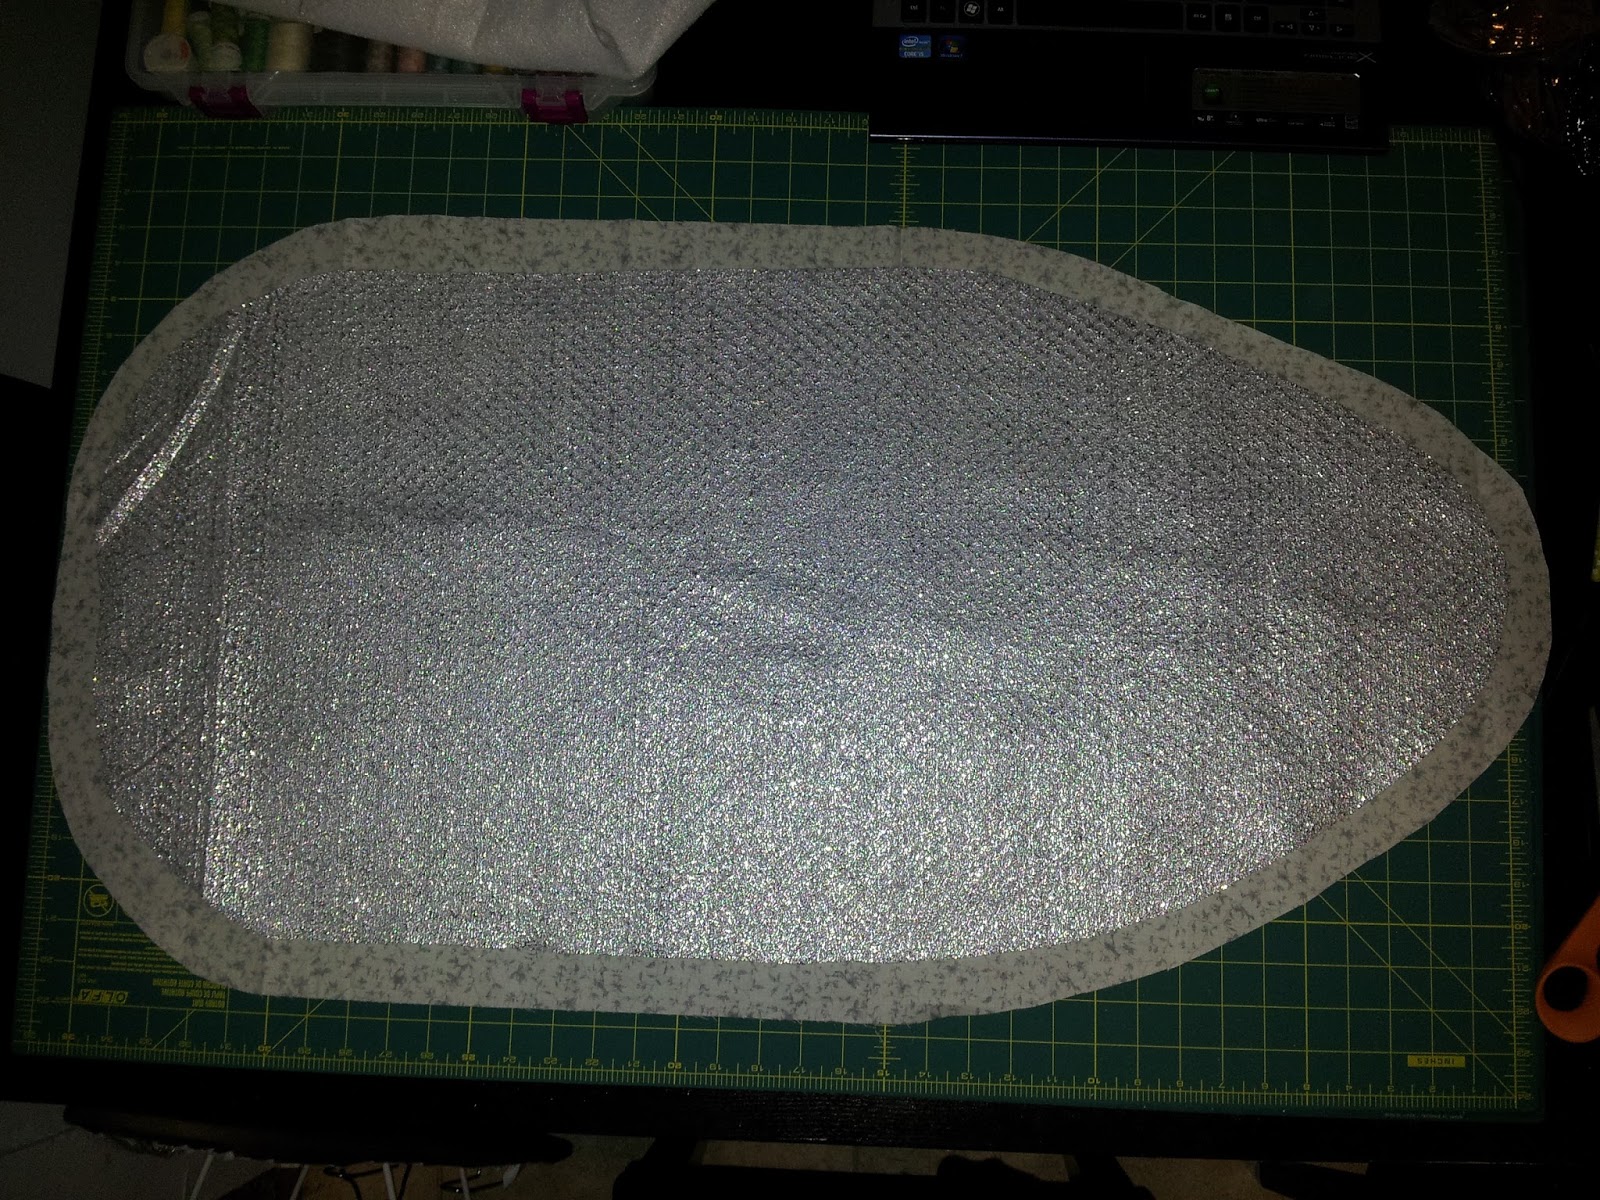
Now lay your batting onto the wrong side of your fabric and use your marker to create an outline an inch larger than your batting stencil. I would suggest putting the shiny side down, if your batting has one (the opposite of what I did in the picture) in case your stencil isn’t quite symmetrical (it’s fine if it isn’t).

3.Hem your fabric

If you know how to hem, then do a 1/2″ hem around the entire perimetre however you think best and skip to step 4.

If you need a bit more direction, read the rest of step 3. (This isn’t the only way to hem, it’s just the easiest, assuming you don’t have any fancy tools).

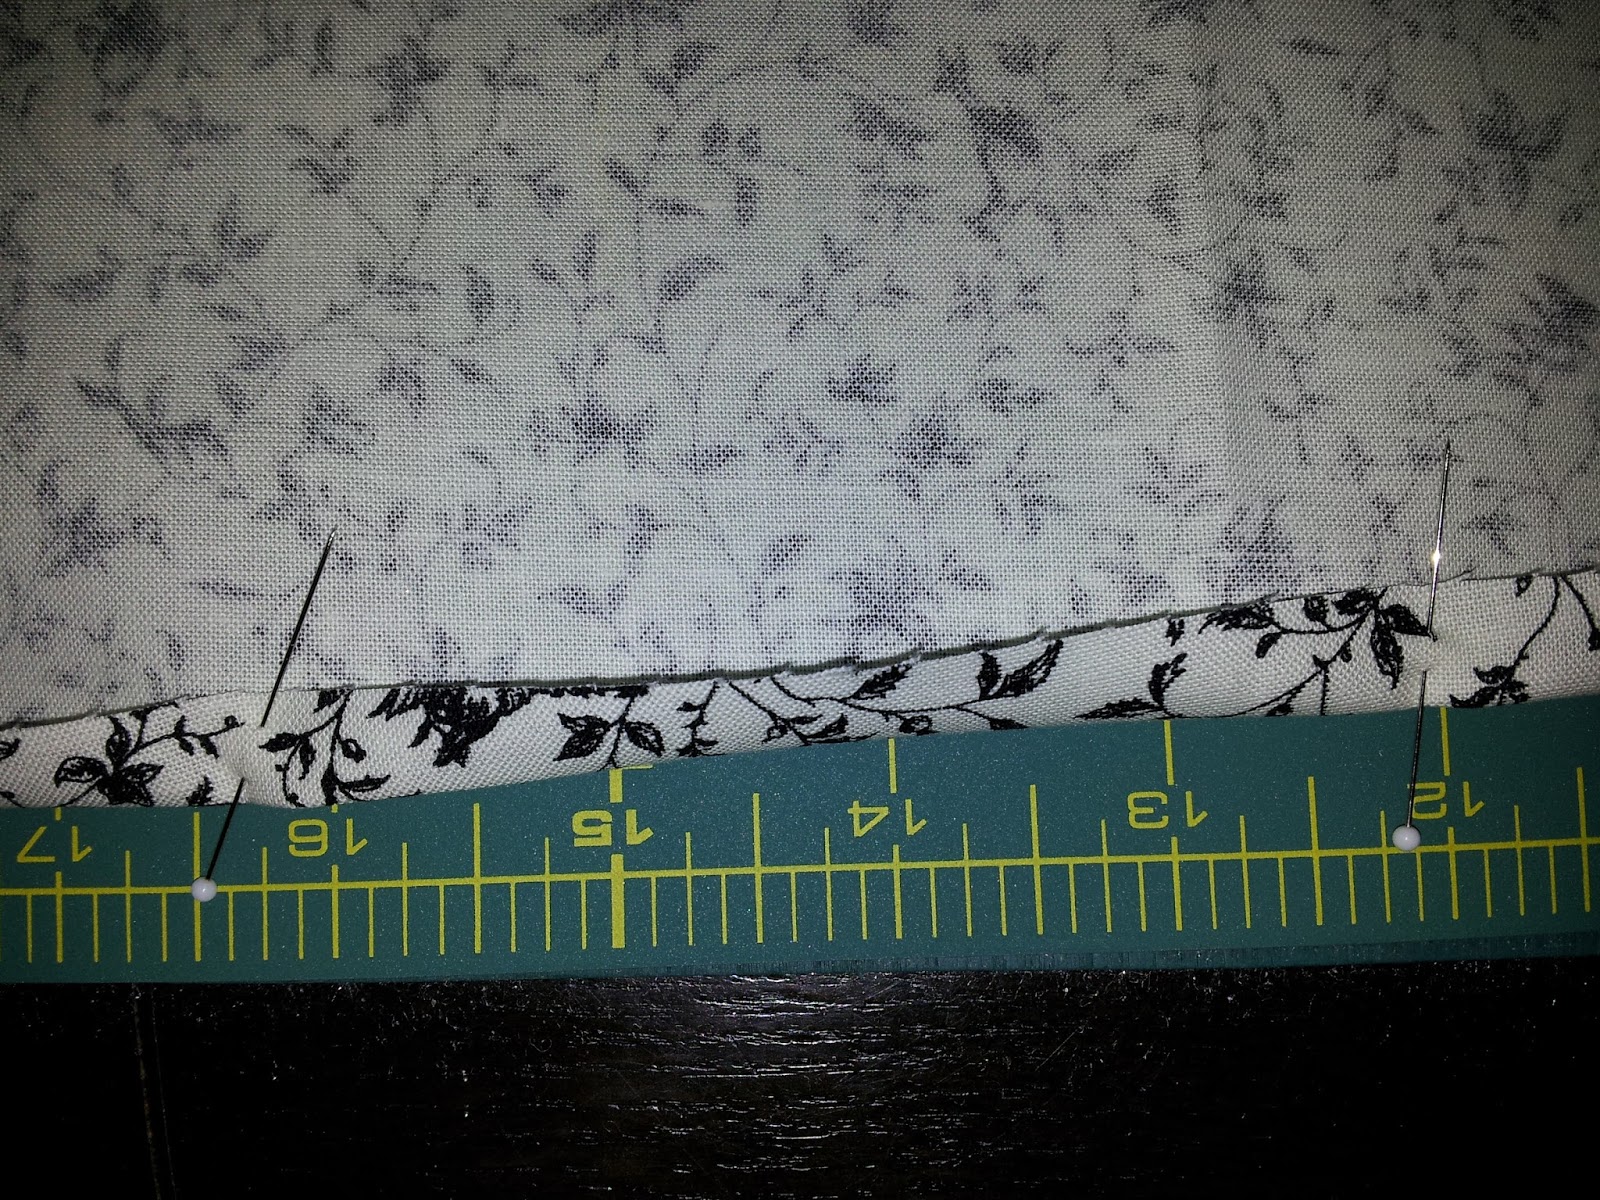
Fold the edge of the fabric in by 1/2″ and pin it in place. Do this around the entire perimetre of the fabric cut-out.

If you used glass-head pins, press (iron) the hem in place and then sew it. If you don’t have iron-friendly pins, sew and then press.
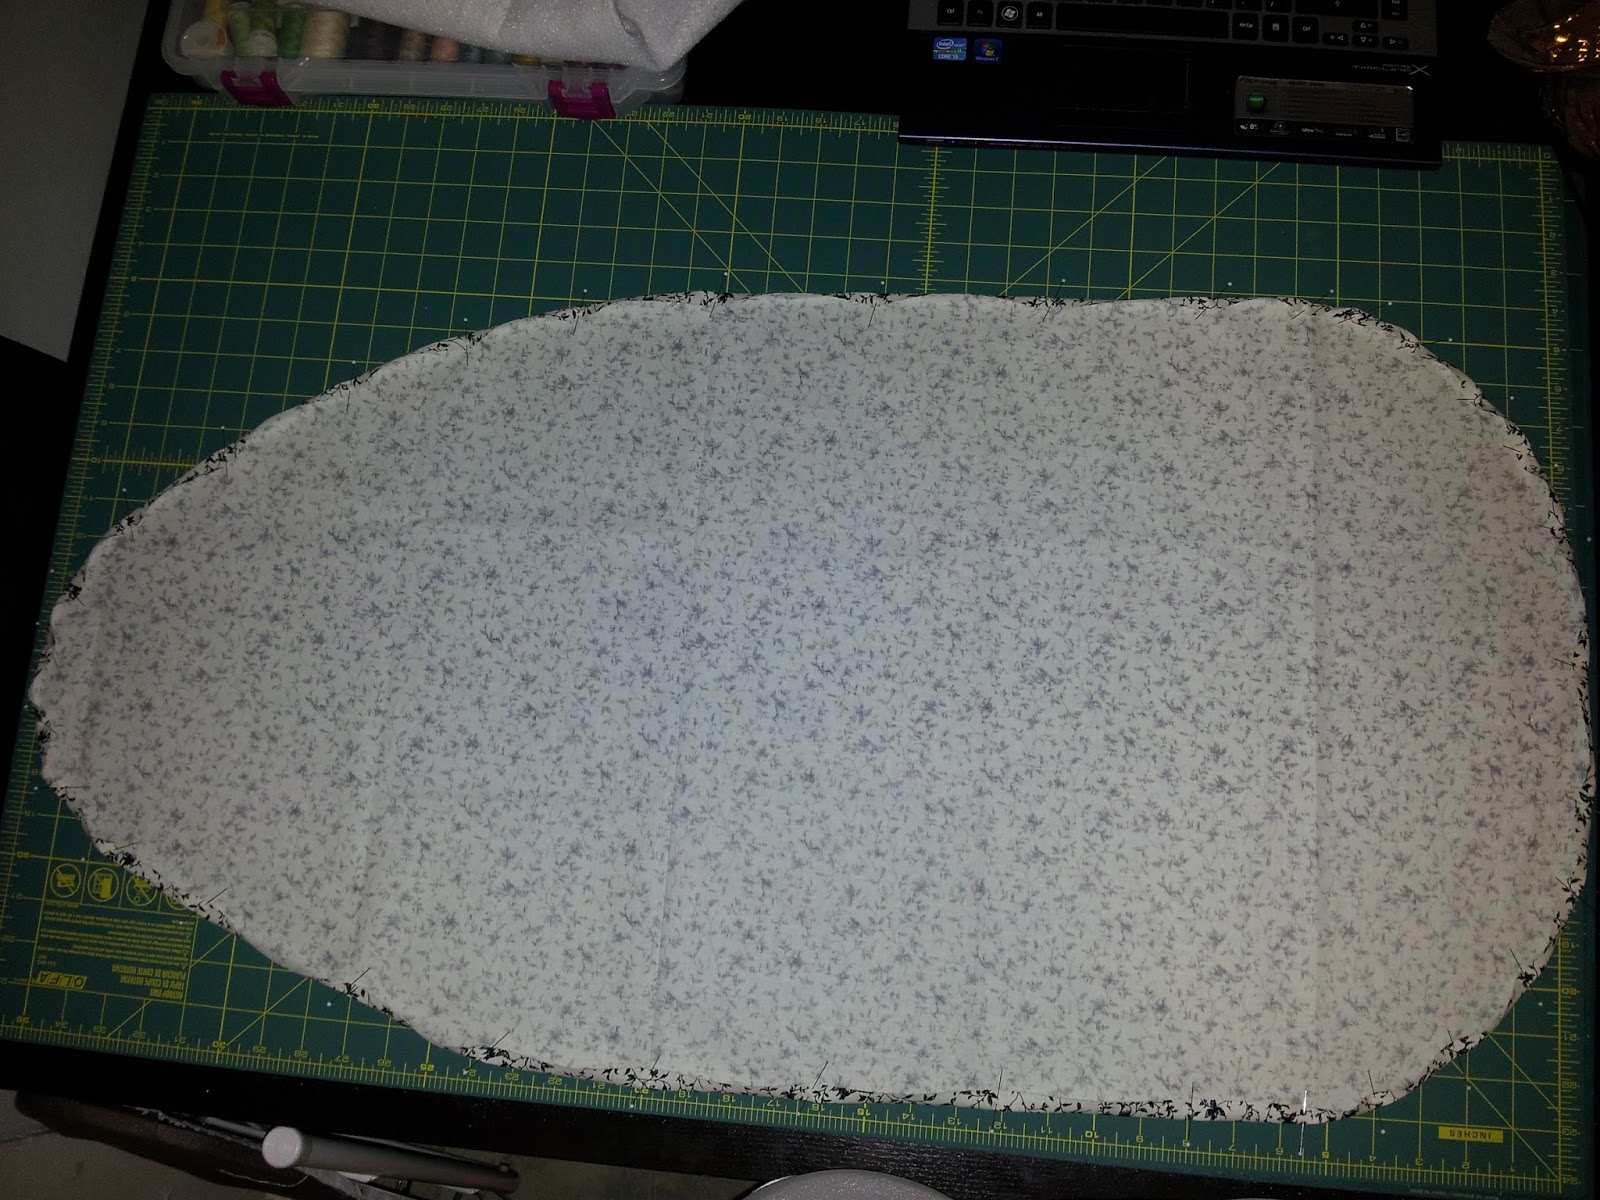
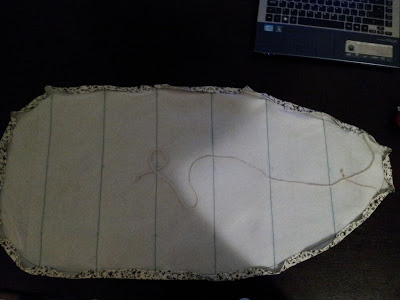
4. Quilt your cover

You MUST centre your batting in your fabric and sew a perimetre around your batting to connect it to your fabric. Anything more is optional, but highly recommended if you used cotton batting or you plan on washing your cover in the future. (If you do more quilting, sew the perimetre last)

I used a ruler and chalk to draw lines 8″ apart. (I quilted the perimetre first, but that was stupid. Do as I say, not as I do, and quilt the perimetre last)

I just quilted straight lines every 8″, because I only used one layer of insulated batting. If you’re using a different type of batting, you will likely have to do more quilting. Follow the guidelines for your brand of batting.

Whatever quilting you end up doing, you should pin the shiny side of the batting to the wrong side of the fabric (you can also use 505 spray, if you have it), before quilting, to avoid shifts or bubbles as you quilt. Curved safety pins are nice for this.

This is what your edge should look like after the perimetre is sewn. There should be about a 1″ space between the batting and fabric edge all the way around.

I didn’t find it necessary, but if your batting is thick, a walking foot might help with this step.

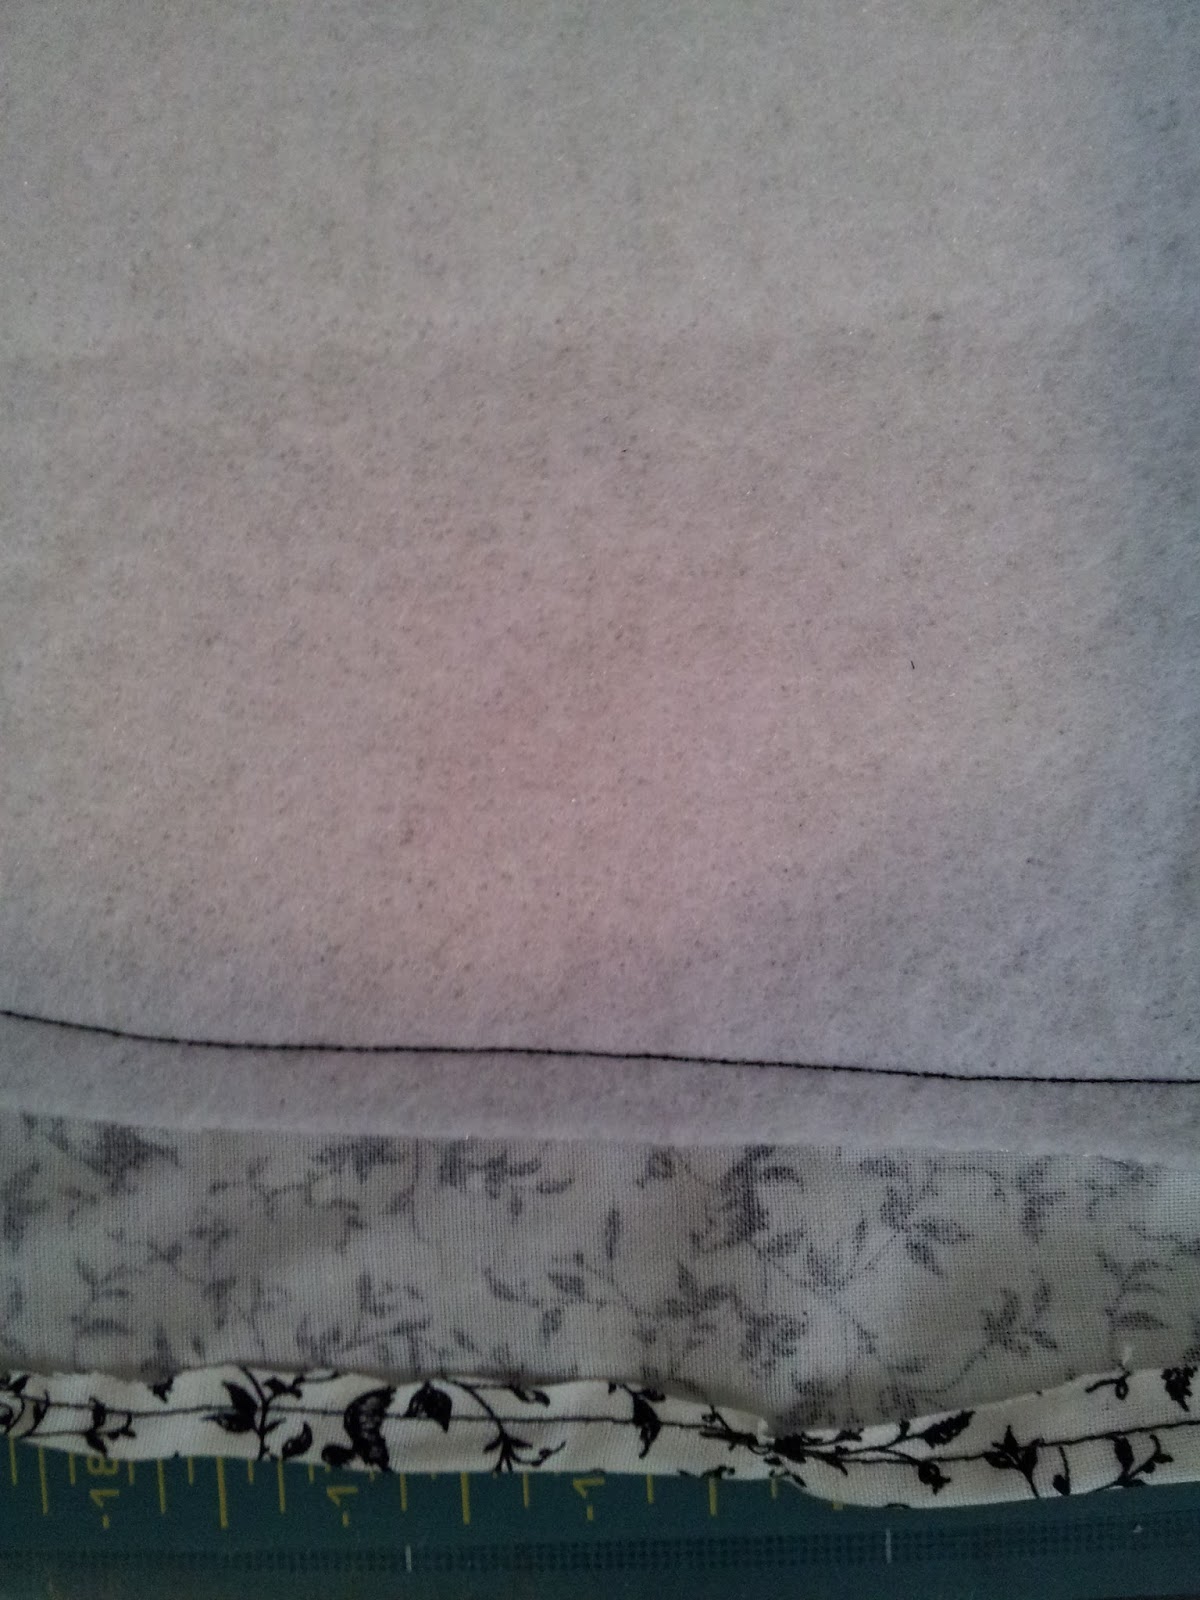
5. Place your cording

Like so, around the perimetre of the cover.

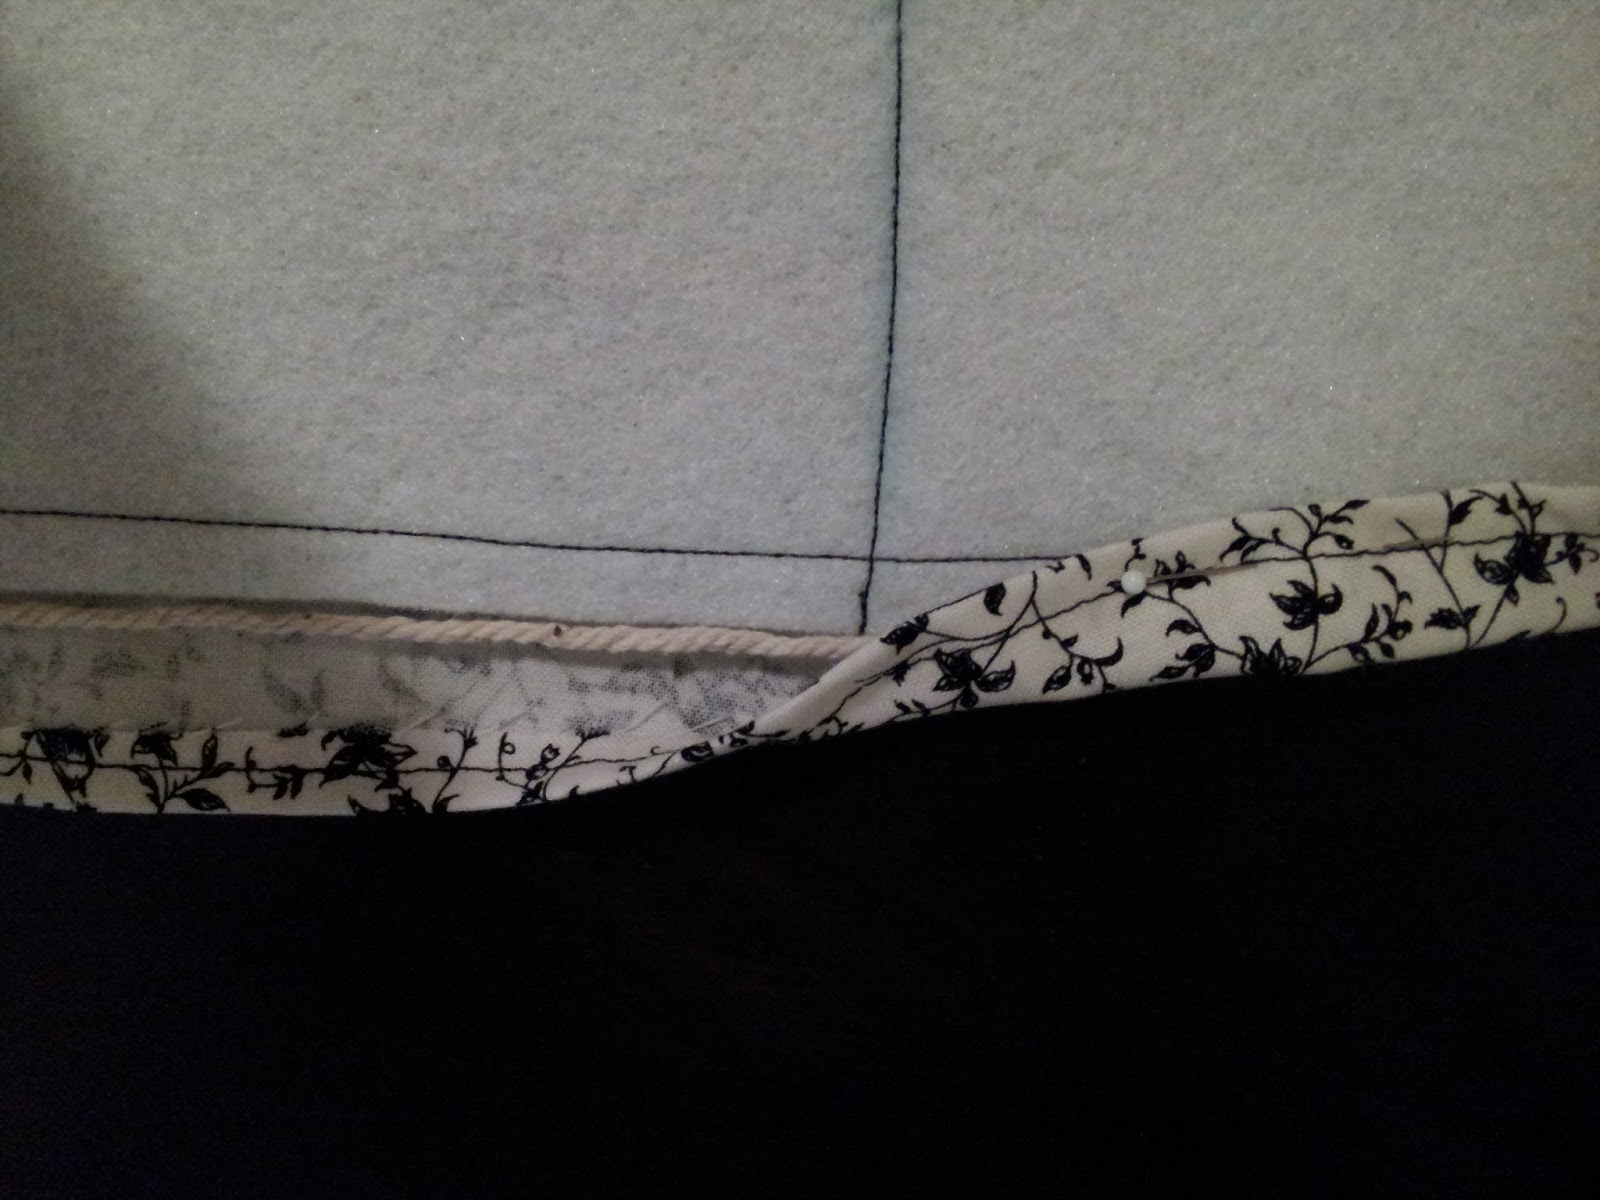
6. Pin the Cording Sleeve

Even if you’re the type of person to forego pinning, you still might want to in this case, since pinning makes it easier to ensure you’re never accidentally sewing over the cording in the next step.

7. Sew the Cording Sleeve

Like so. Make sure you’re never sewing over the cord.

8. Assume the Position

9. Tighten & Tie the Cord

Try to hold your ironing board still as you pull on the cording, eventually tightening the cover to your ironing board. Make the cord nice and tight and then tie it off. I tied my cording to the ironing board frame, because I don’t like to have things dangling.

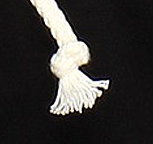
You’ll likely want to tie knots at the end of your cording and/or use fray check or glue to keep the very tip from fraying. I didn’t take a picture of mine, but here’s one from Google that’s tied without fray check (which is acceptable):
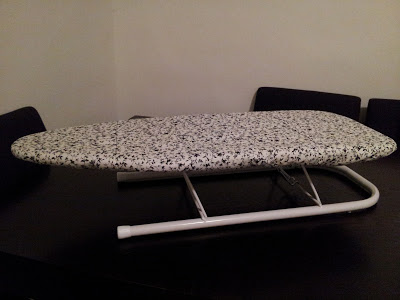
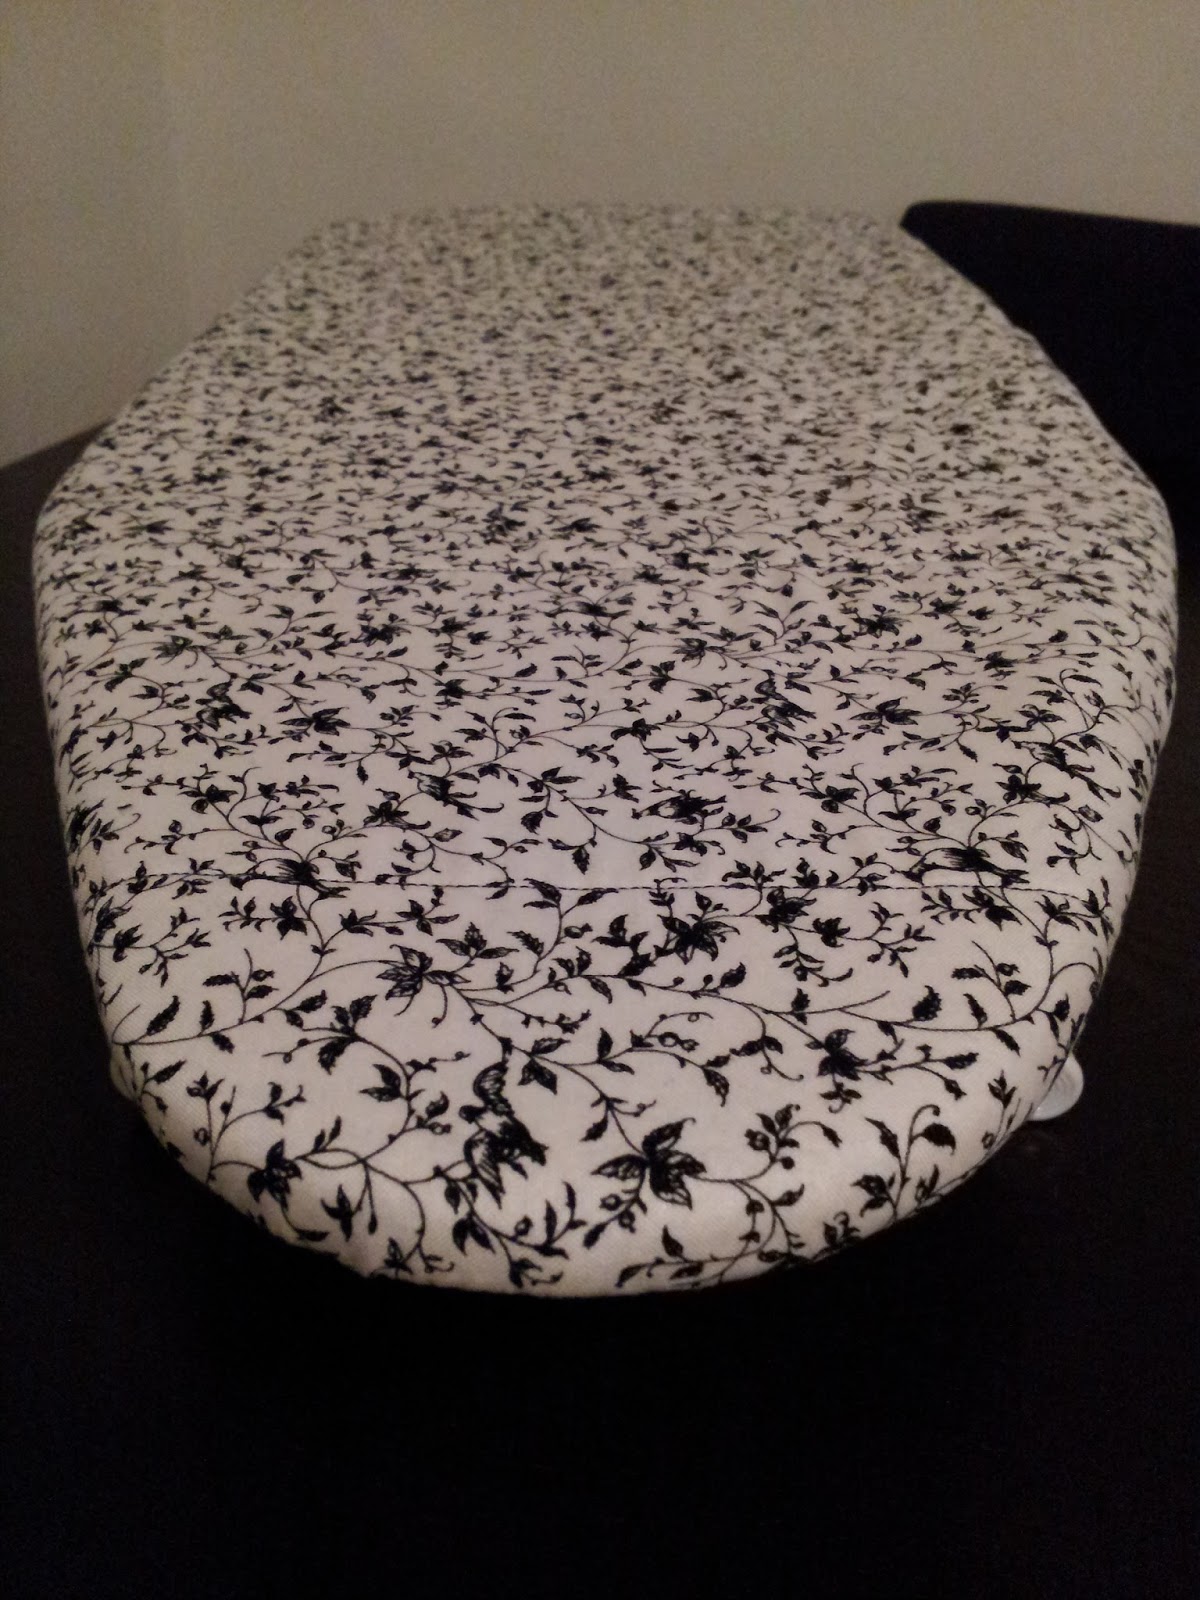
You’re Done!

Enjoy the fruits of your labour.

Don’t hesitate to comments with questions, concerns, or compliments.

Or even better yet, if you make an ironing board cover with this tutorial, send us a picture so we can be happy with you OR post a picture on social media using the #misswinnie hashtag and we’ll see it.

And, if you’re so inclined, check us out on Facebook, Instagram, and (soon) Pinterest for more pics, anecdotes, and patterns.

If you want more interesting patterns with better instructions, check out the Miss Winnie Etsy shop.


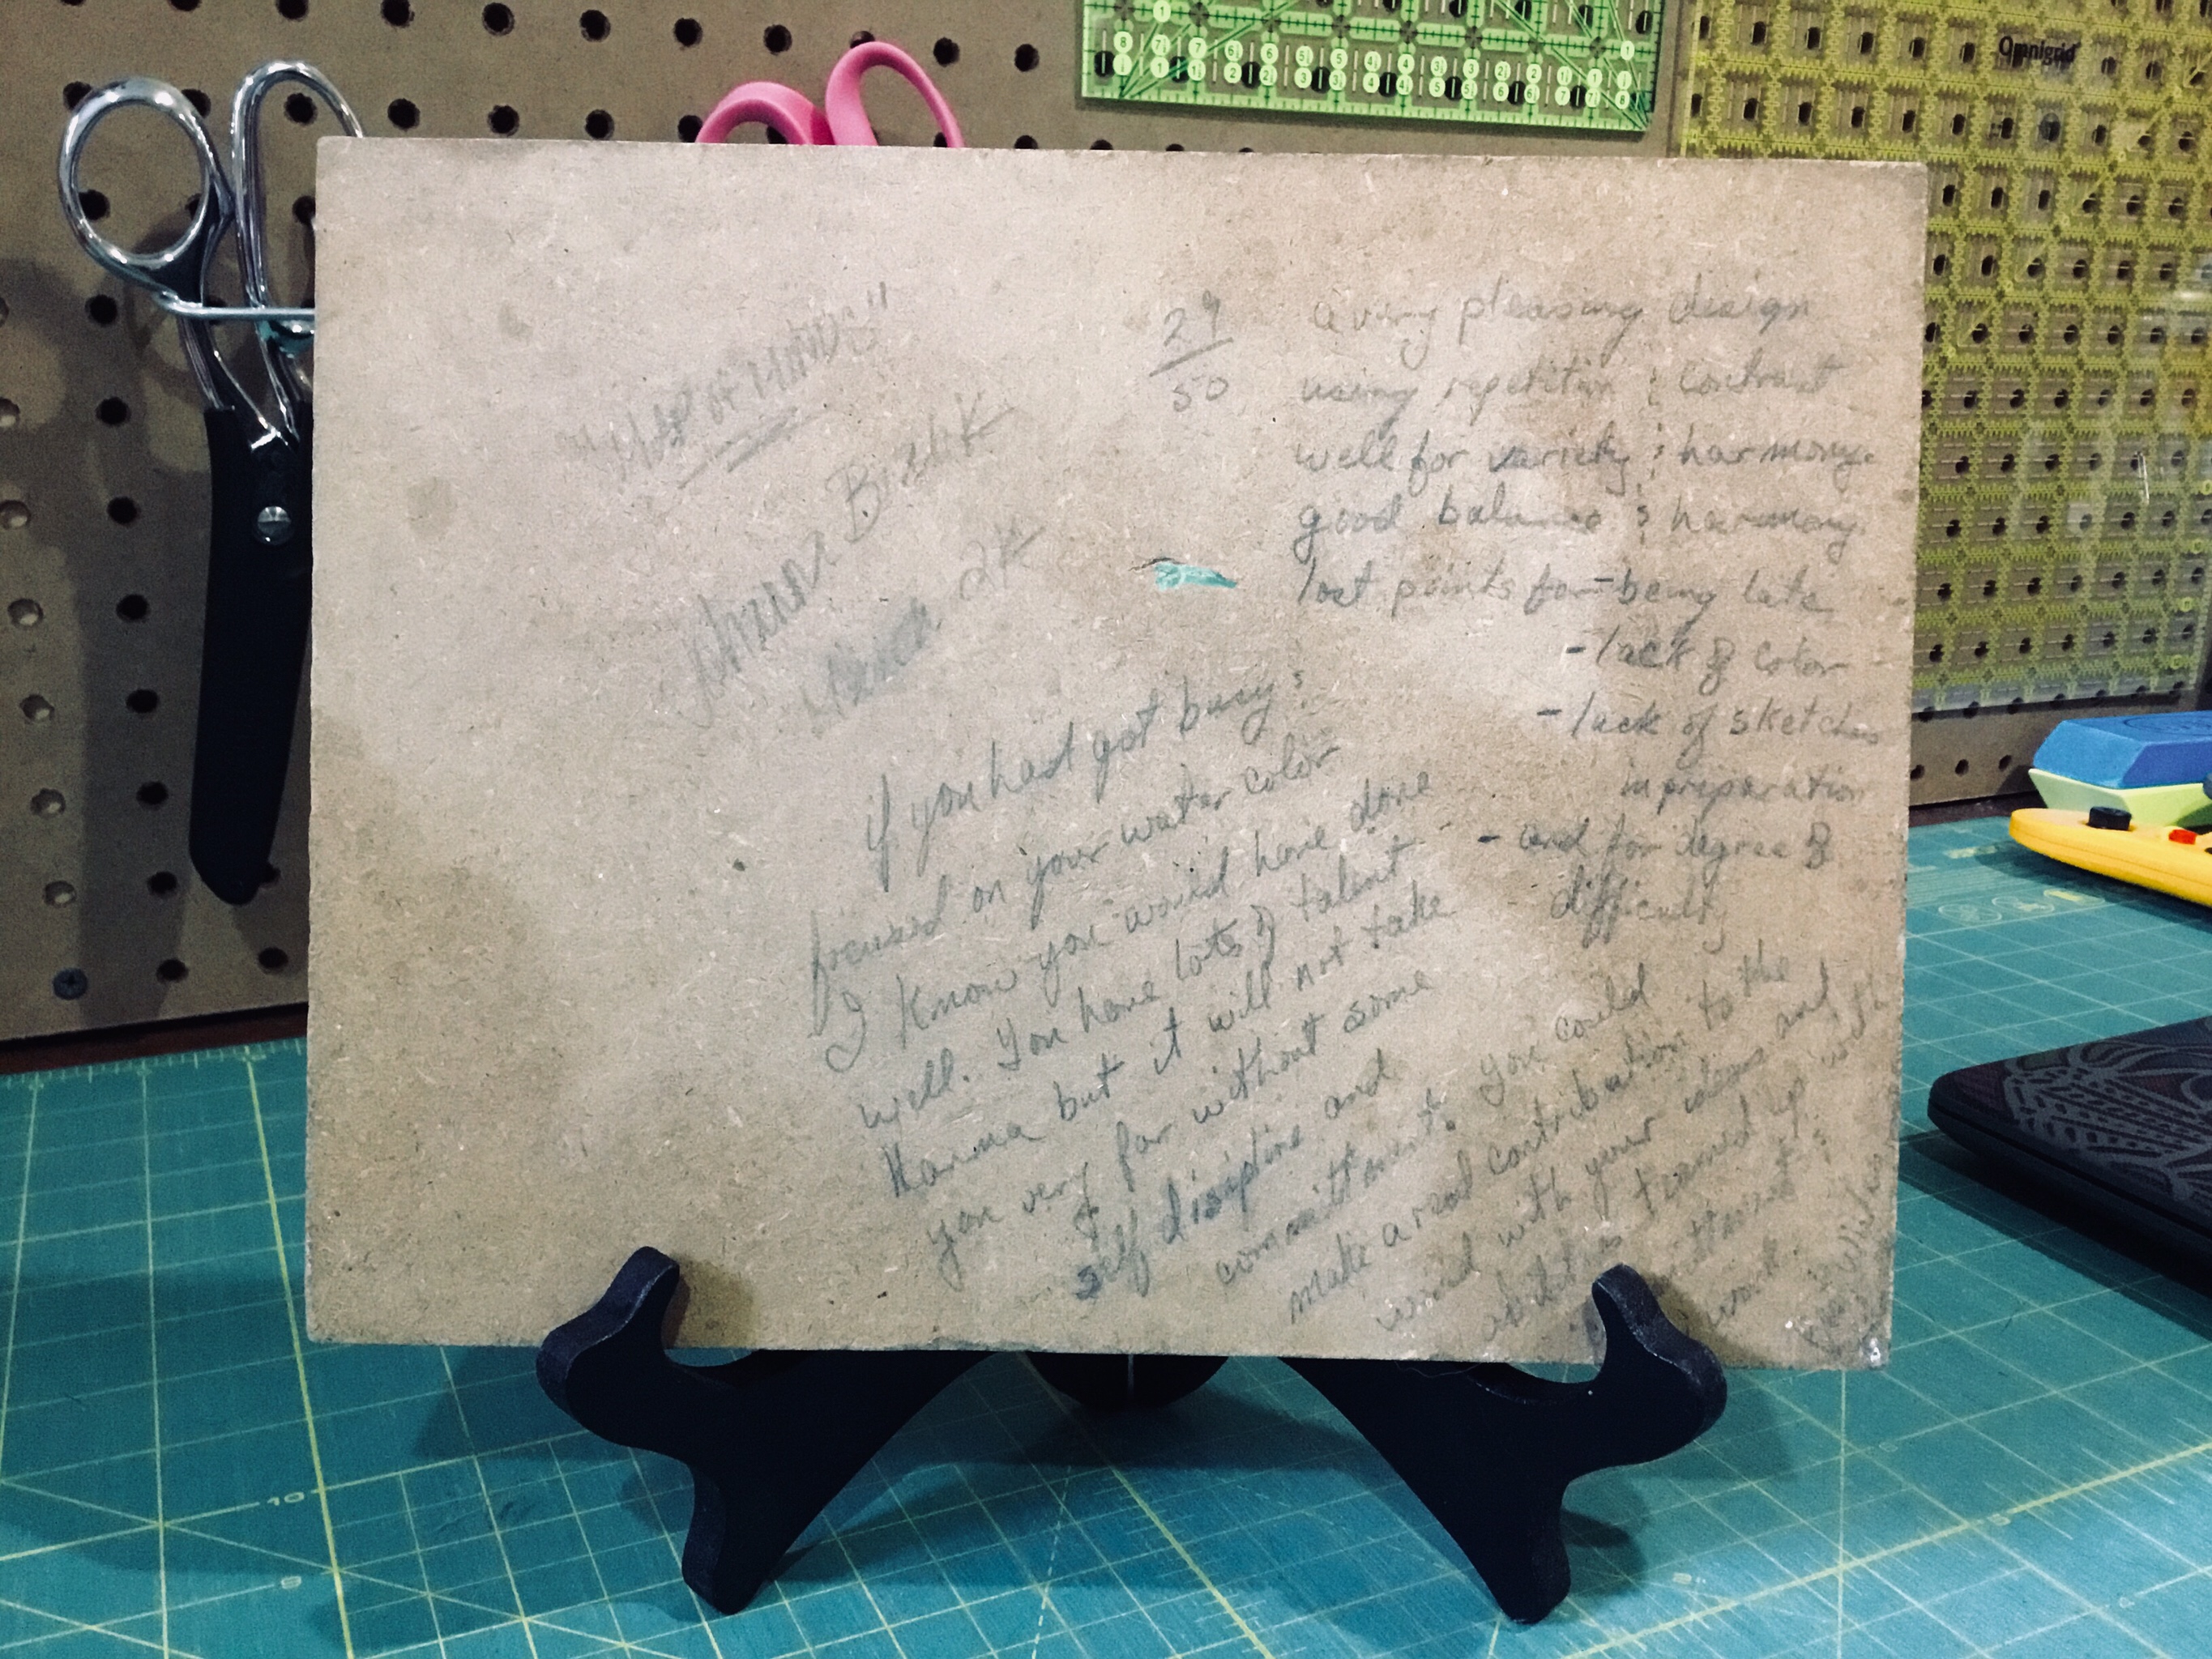
I chose this fabric because it’s off-white and looks antique. I figure that, as I spilled Best Press and what-have-you on the cover, it would just add to the antique look.

Coon’s Age

85015362-6966-419E-A1A8-F0A9E94F8EB8What is a “coon’s age”? How long do raccoons live? I’ll have to look that up — I want to know if it’s literally been a “coon’s age”, or just figuratively.

Notice how it’s been much too long since my last blog? Yeah, me, too.

Today, the first day of 2019 is a good day for me to get back to it. 2018 was a rough year for me and my family. Actually, it’s been rough since 2016. I’ve definitely had to edit my activities and priorities. Honestly, talking about tough times is hard for me, because it all feels overwhelming, and talking about one thing reminds me of all the other things, and I just don’t have the energy to talk it all out. So I just don’t say anything. Which is why it’s been so hard for me to make blog posts — I can fake it ’til I make it with short blurbs on Facebook and Instagram, but for blogs… well, you folks are harder to trick!

On a lighter note, the thing that has kept me motivated is Miss Winnie Designs. I have had so many more opportunities and successes than I dared to have hoped for. MWD is still very young, but I have a clear vision of where it’s going, and I’m thrilled even with the advances that I’ve already made. Regardless of anything else going on, I have people that love me, my kids are amazing, and I have the potential and good fortune to grow MWD and my only limit is how hard I work.

SO!

Maybe if I list some of my business resolutions and/or goals, I’ll be more accountable for them… maybe… or maybe I’ll just ride the momentum I have, and work hard to keep it going.

I’m not really the type of person to give myself specific goals, because life is unpredictable and if you don’t adapt as you go along, you’re setting yourself up for failure. And I get way too discouraged when I feel like I’ve disappointed.

One thing that I hope comes to pass this year (and the earlier, the better!) is my new sewing room! The majority of my basement is one long rec room — which I loved when we bought the house — but it’s just turned into a confusing mess. My boys have shared a room for most of their lives (their choice), so my sewing room has been the bedroom in the basement. Now they’re 11 and 14, and getting too old to share a room… and the smell is getting pretty potent in there. 🤢😬

So the plan is for our older boy to have my current sewing room, and we’ll put up a couple walls to make my sewing room. And since the walls will be from scratch, I get to do whatever I want! Creative freedom building a room specifically for creating is pretty exciting. One of the walls I want to be metal so I can put magnets all over it, and the other wall (and probably an existing wall or two) I want to be covered in chalkboard paint. I have post its, papers sticky-tacked, and sticky chalk boards all over my sewing room, and I feel like it would look more purposeful (and creative) if my walls were made specifically for the chaos.

I’d have to leave at least one wall “normal” so that I can paint it some bright, obnoxious colour that my husband would never let me put anywhere else in the house.

I’ve got lots planned for the coming year, and I’m excited to share these things with you as they come along!

Throw Back Thursday

Well, it’s been a while since I’ve done up a blog post.  While I’m sure you have been starving for more of me, the good news is that I haven’t had time to write up a blog post because I’ve had many new projects on the go.

However, I came across a piece of artwork that I did from high school that always gives me pause for interspection.

I had undiagnosed ADHD when I made it.  Although I consider it ADD because, well, when I was a teenager, there was ADD, and there was ADHD.  Now I guess it’s all under ADHD.  I was never bouncing off the walls, or yelling randomly, etc… all of the extra energy seemed to swirl around in my head, or in little annoying habits.  Either my leg would always be bouncing, I’d be counting the amount of times my fingers touched each other (in multiples of 6 for some reason?), twirling my hair, picking at imperfections, etc.. My favourite and most cathartic expulsion of this energy came in the form of doodling. I didn’t do it because I thought I was an artist… in fact, any time someone would comment that it looked cool, there was always someone there to remind me that doodles don’t count as “art”.  I did it because not only did I need a place to focus my energy, but because these doodles were the best visual representation of what my brain felt like.  And still feels like.  It gives me a sense of balance.  I feel like a part of me has found its happy medium.  While the style isn’t for everyone, and some may not even consider it art, I feel a sense of balance looking at it.  To me, it looks interesting… like I want to sit and stare at it, and find all of the intricacies that I wasn’t even aware I was drawing.  Even if other people don’t get it, I get it.  And it’s me.  And as long as I get me, then that’s all that matters.

I had a close friend that was — and I assume still is — an incredible artist.  Like, Robert Bateman caliber.  She was selling her art while still in junior high.  This could definitely be one of the reasons that I never felt like my doodles were worth pursuing when I’d see them next to hers.  She never made me feel like I couldn’t draw.  In fact, she would encourage me in art class.  She felt I was capable of doing realism and more traditional art if I focused.

Which brings me to my high school artwork that I found.  The assignment was that you had to use paint.  There were no other parameters other than that you had to use paint.  I wasn’t as comfortable with painting, so I wasn’t sure what I was going to do, but my friend and teacher suggested I try water colour.  I’m not sure how long we worked on our projects in class, but I was trying to do a traditional painting with a traditional medium, and I just wasn’t feeling it.  I’d start, and not be happy with it, and start again, etc..  One day while I was in the art room, I saw a piece of wood (about 10″ x 7″), and a visual popped into my head about what I could do with it.  Our projects were due within the next day or two, so if I decided to start over, I knew I wouldn’t have much time.  But I was so uninspired by my water colour, and so inspired by this adamant yet inanimate piece of wood, that I decided to start over.  I’d never done my doodling with paint before — getting the paintbrush to cooperate enough to get all the small details was a challenge — but I had a vision, and I was determined to see it through.  I carried the piece of wood and my supplies with me everywhere I went so I could get it done in time.  Plus, any creative person knows that when it hits, you’ve gotta ride the wave!

I ended up being a day late with my project.  This wasn’t a big deal for me — virtually all of my homework was handed in late (if it was handed in at all).  Yet, I was proud of what I had made.  When I got my project back, I was excited to see what my teacher thought, but as I looked at my grade and the comments, my heart dropped, and was crushed to see the grade I had gotten on it — 29/50… 58% on my favourite piece of artwork that I’d ever handed in.  I read the comments, and felt defensive and hurt.

“Map of Minds

by Johanna Bialik

March 2K

29/50

  • very pleasing design using repitition & contrast
  • well for variety & harmony
  • good balance & harmony

Lost points for

  • being late
  • lack of colour [I didn’t like this comment because the assignment didn’t require us to use colour]
  • lack of sketches and preparation
  • and for degree of difficulty

If you had got busy and focused on your water colour I know you would have done well.  You have lots of talent Hanna, but it will not take you very far without some self-discipline and commitment.  You could make a real contribution to the world with your ideas and abilities teamed up with committment and work.”

When I read the teacher’s comments now, I don’t feel hurt or defensive.  I feel empathy for a teenage girl that felt misunderstood.  A girl that was always trying, and always failing.  Now I know that there are other people out there like me.  I understand what the teacher was saying to me, especially now as a mother.  Being through these experiences has made me well-equipped to properly guide youth with similar struggles.  I also know that while people around me didn’t/don’t necessarily understand me, the way that I see and feel the world are what make my designs stand apart.  My company is still in its infancy, but I know that I have interesting takes on a typically traditional field, and I believe that I have something to add to the quilting community.  I feel I am on the path to fulfilling what my teacher was attempting to guide me to so long ago.

The white paint on that piece of wood has faded now.  Due largely in part to my little sister (who was six at the time) taking a marker and tracing over the shapes.  My first reaction was “What the heck did you do to my painting?!”.  Then she looked up at me with her big brown eyes and messy curls and told me that she thought it was pretty, and she was trying to learn how to draw like that. *tear* How can you be upset about that?! Now it’s just another fond memory attached to this piece of wood.

A Hearty Scrap Buster

We just published a new place mat pattern called “Hearty Meal”, which you can buy on our Craftsy page.
20171005_124235

That’s the simple version. And I wanted to include a scrappy version, but there wasn’t room in the pattern, so I’m putting it here. So if you want to make something like…

…this:HM3

… or even this:

HM2

… just buy our pattern (which you can do here) and use the chart below as well as the sewing instructions and diagrams in the pattern to bust that stash and make something awesome!

HMScrappy

My biggest suggestion is to make sure A and C contrast with B (especially if you’re doing both A and B as scrappy) or you might end up with something like this:

20180118_154533

I mean, it’s fine, but you can’t see the heart very well, so learn from my mistake (that I totally did on purpose so that you guys would know what not to do) and make sure your place mat has that contrast!

– – – – –

If you make one of our place mats, post it on social media with the hashtag #misswinniedesigns or send it to us on Facebook or through email (hanna@misswinnie.ca). We love to see what your beautiful brains come up with!

My Name is LC and I’ll be your Editor this Evening

Short Version:
My name is LC (short for Laura Christiane). I’m Hanna’s sister, a recent university graduate, and a writer/editor/designer for Miss Winnie. I worked at a quilting/fabric store for about 10 years (my job throughout high school and uni) which refined my sewing/quilting/design skills. I’m a Taurus, I don’t have a favourite colour (because I think they’re all great) and you’ll be seeing me around from here on out.
Me2
(I couldn’t get my hair to fit in the frame. It happens.)

Long Version:

I’m not really a fan of most New Year’s traditions. I don’t like overcrowded parties or countdowns or letting a clock dictate when I kiss people. And I’ve never understood New Year’s Resolutions. But 2017 was… 2017 was quite a year for me (to put it politely) and the New Year happened to coincide with a large life change, so 2018 actually feels kind of different.
In 2017, I graduated from university with a B.A. in English and a B.Ed, but my final teaching internship, while a wonderful experience, finally forced me to admit that my health is not okay. Among other things, this meant that I wouldn’t be able to go into teaching when I graduated in a few months. On top of that, my husband and I were coming to terms with the fact that our marriage wasn’t going to work, so naturally, he broke up with me a few weeks before all my final research papers and exams were due. I graduated, moved out, and have spent most of my time since then furiously working at various jobs and hobbies to keep myself busier than I should be. (I got straight A’s in that final semester and graduated with Distinction in my B.A. and Great Distinction in my B.Ed, BTW)
But I decided to switch to part-time hours this January, so that I can work on my health and spend some time exploring what other vocational areas I might want to go into. I’m planning on getting some certifications, doing some volunteer work, and most importantly, working with Miss Winnie.20180113_130316
I’ve been helping out around here for a few months, mostly writing, editing, and testing Hanna’s patterns, and I’ll keep doing that, but in 2018, you might start seeing some patterns (quilting and accessories) that I’ve designed,  sassy cross stitch patterns (examples coming soon, hopefully – I just want to finish a few more), and some finished products, such as quilts, place mats, and accessories.
A big first step for me is that one of my roommates moved out a few weeks ago, which left me enough room in my living room to build a little work/sewing nook. I’m excited about the new space (so much space compared to before *weeps with joy*) and the ritual of cleaning, organizing, and moving things around (lots of cedar and sweet grass incense involved) has me feeling excited and renewed like no New Year before.
I look forward to all the things Hanna and I will try and accomplish in 2018, and I hope you’ll be there for some or even all of it.
20180113_161642
(I am – as a character trait – a bit excitable at times)

2018!

I have been looking forward to January for some time.  

The last couple of years have been hard on my little family, so 2018 being here is an opportunity to shake off the last couple of years and start anew.  I always thought looking forward to New Year’s was silly, because whatever resolution(s) you want to start, why not just make it when and where you stand? Why wait until January? But sometimes there are years that you’re just glad are over.  It wasn’t all bad — in fact, some absolutely incredible things happened, and I’ve learned so much.  I wouldn’t wish the year away for the world.  

I am, however, very tired.  Not only have I been trying to get Miss Winnie (MW) off the ground, but I have also been managing my mom’s fabric store, sitting on the board of my band society, been in charge of membership for said band, have had two callings (volunteer positions) at my church, and been mother to my very active boys (piano, parkour, football, etc) while my husband is out of town.  

My mother has sold her store, and her last day open was December 26th. Even though I’ve been looking forward to the store changing hands, once I saw the empty shelves, it hit me that I no longer had a fabric store at my disposal, and the era of my mom having The Fabric Addict store was over. So I have mixed emotions!

Regardless of my mixed emotions, I am excited to have the time to focus on MW, get my house organized and get healthy.  You’re going to be seeing a lot more me and MW!  With my sister, LC, at my side, we also want to work on accessories.  Patterns and selling the finished products.  A few of the things we have on our mind are sassy cross-stitch patterns, embroidery (and eventually embroidery designs), bow ties, and bags/purses/wallets.

We have a lot of work to do, and only time will tell where the path will lead, but I am excited to explore this path and soak in anything and everything there is to learn along the way!

“Let’s Do Lunch!”

Seriously, we should do lunch… but this post is about my placemat pattern, “Let’s Do Lunch!”(LDL). I love this pattern. It is so fast to make up, and shows off your feature fabric beautifully. If you’d like the pattern, but don’t have it yet, you can email me at hanna@misswinnie.ca or buy it as a download it on Craftsy or Etsy, or from a participating fabric shop near you! 🤓

This is one of those fabric lines that I’ve been staring at for a couple years at work, trying to come up with a project that I could 1) use it for 2) actually had time to do! So it ended up being my test fabric for this pattern, and I’m so in love with them. Totally gonna keep this set for myself, along with the pot holders that I made with the leftovers.

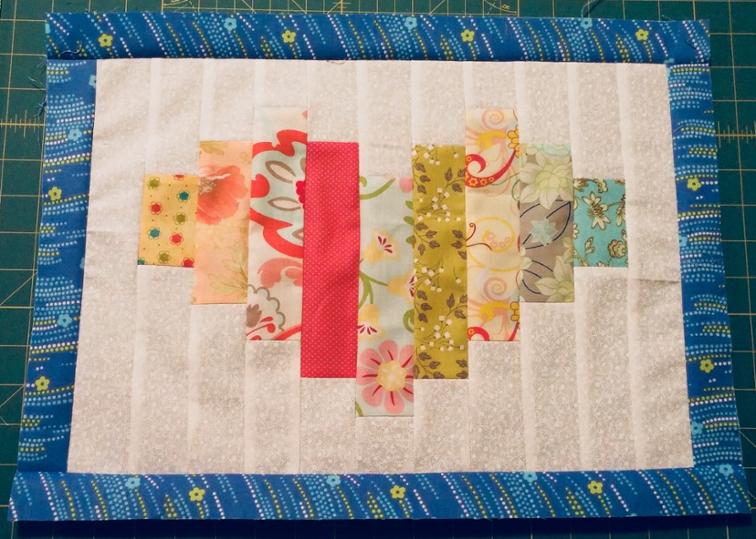
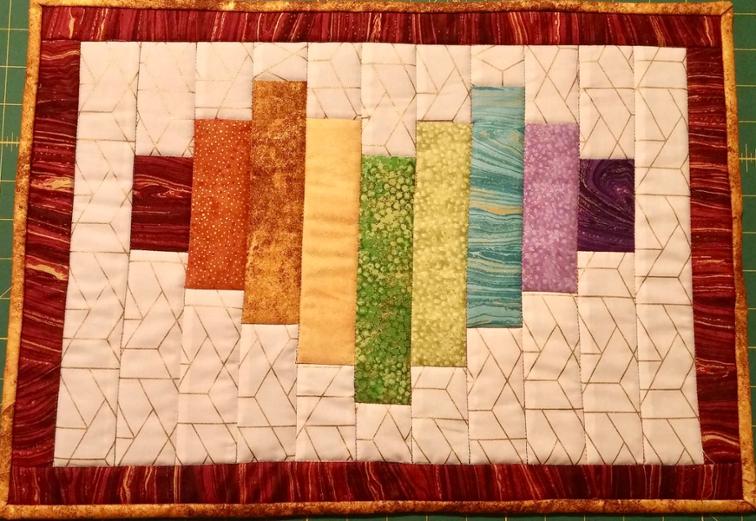
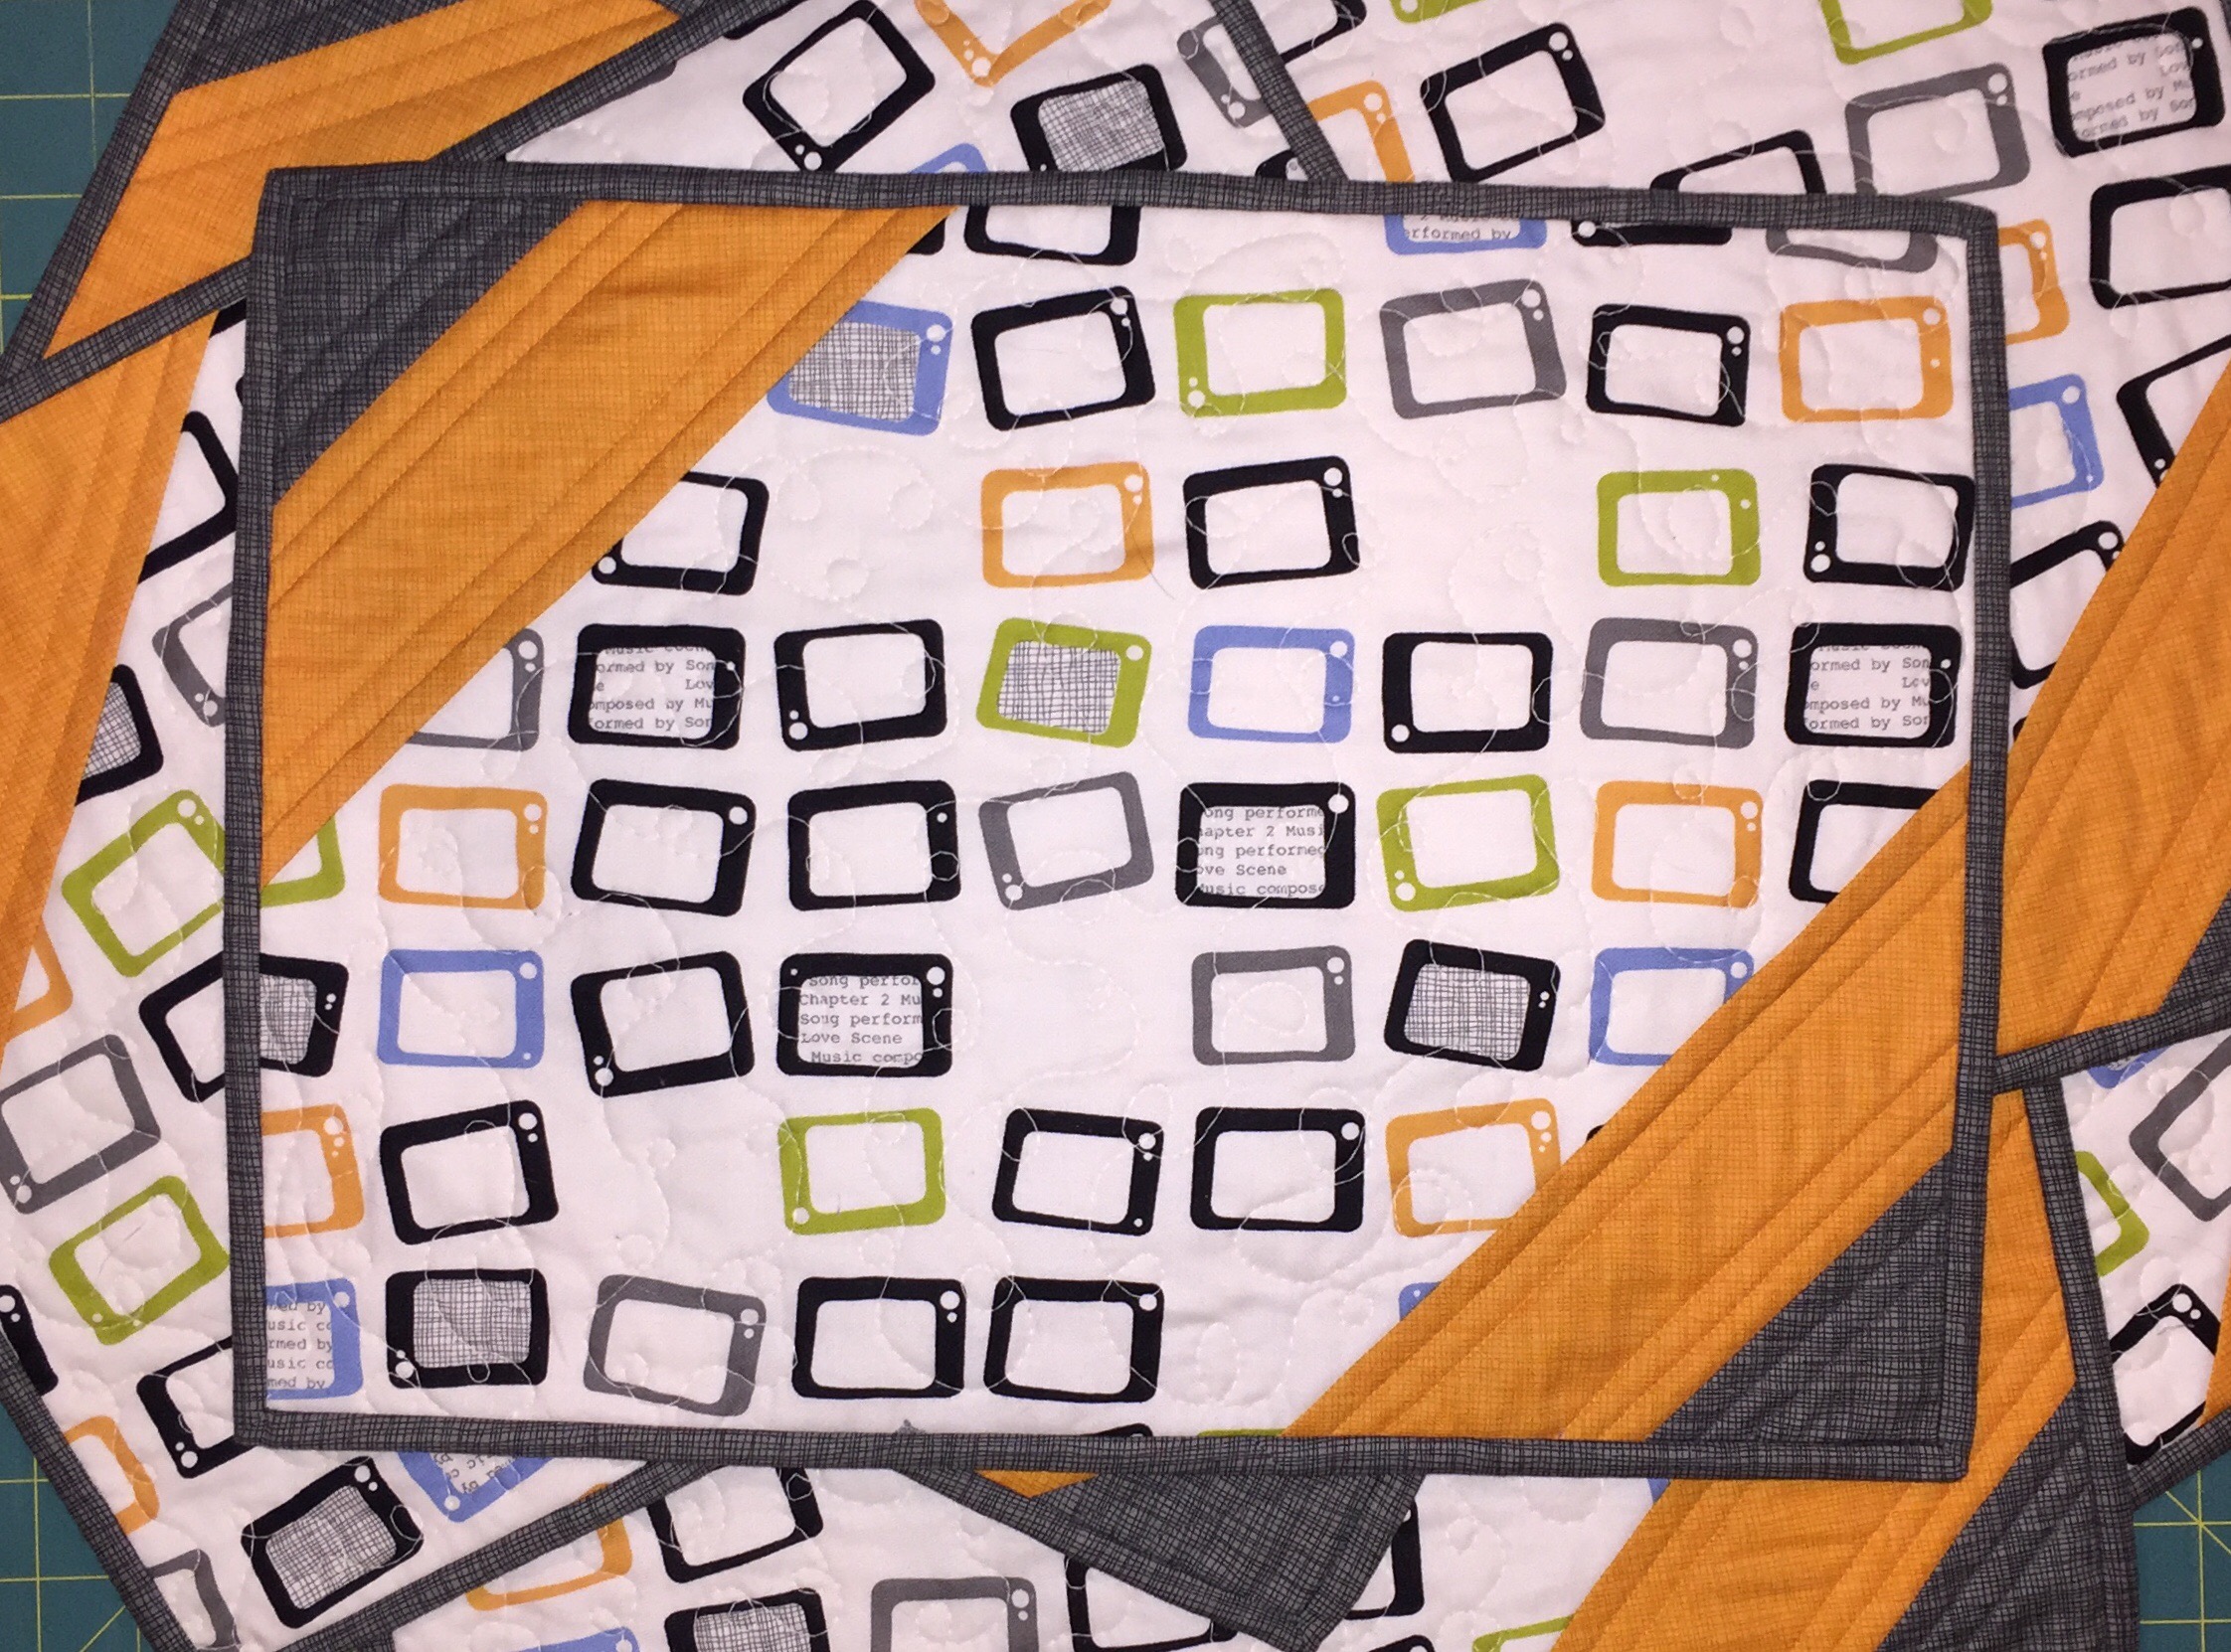
I’m gonna go out on a limb here, and make the statement that most quilters are as stingy as I am with my fabric, and hate disposing of scraps. Since LDL would have some wastage, I made up a few examples of what you can do with the leftovers. Haha. Leftovers. Get it? Anyway, I just loved making potholders that match the placemats. Looks so cool on my table. You’d almost think I have my crap together… alas, I do not. In fact, one of the reasons I love placemats is because my boys have not yet perfected (nor even occasionally practice) the art of cleaning up after they spill. So why not use a tablecloth? Well, I’m not caught up on laundry enough to keep tablecloths clean. Also, it’s hard to find a pattern that sits perfectly on your table. Also, I like seeing the “wood” on my table, and tablecloths cover that up. So yeah… I just find placemats easier to keep up with. And you can have so many of them to play with! Ack! They’re so fun!

Well, I digress, but here’s a couple of cute little ideas that you can do with your LDL leftovers, or really, it’s just cute to make up on their own.

LDL! Leftovers patterns

Now, if you’ve already made LDL, you don’t have to measure anything – you can just take your leftovers, follow the pictures and sew! However, if you want to replicate or make some on your own, I’ll add the requirements and directions shortly.

Here’s the order in which I pieced them together:

Share, Share, Share!

I have to say that I was late to the whole “hashtag” thing. I didn’t understand what the purpose was. Now that I’ve realized that if I hashtag something, I can see all other things “hashtagged” with the same thing, I finally understood the purpose. Lightbulb! Anyway, my point is that when I write #misswinniedesigns or #letsdolunch, I/we can see all the other projects that have been hashtagged. So I know I sound like a total newb, and totes naive (can you hear my ironic sincerity?), but it’s cool ‘cuz I’m cool. I’m hip to the groovy jargon.

So… Share! And hashtag!

Hey — I have a blog!

They tell me to share my story. That’s a lot of pressure to be a good story teller.

In case you didn’t know, my mother, Karen, owns a fabric store called The Fabric Addict in Lethbridge, Alberta. I work at said store. At said store we are going to make a placemat kit with one of my patterns! Yay! Exciting! Which means I’ll actually have things for sale, instead of just continually showing what I’m working on.

I should introduce my baby sister, Christi. She’s not a baby any more, or course, but you know how baby sisters are always to be baby sisters. Christi is going to be my business partner. She’s going to help/edit/write/test, etc my patterns. It’s awesome having an awesome companion for my awesomely awesome company. Awesome. Dude.

So Christi and I are working hard to get my placemat pattern 4 O’Clock ready for sale. So I’m gonna go work on the pattern instead of spending precious time talking about working on the pattern. Then I’m taking my boys to football, then going to band rehearsal.

Have a swell evening!

Hanna, Queen of Bourque

First Miss Winnie blog! 😘

Ok, so I was born in 1983, which, according to recent media, means that I am a Xennial. I’m too young to be Generation X, and too old to be a Millenial. This means I’m old enough that my childhood consisted of analog technology, but young enough that my young adulthood was driven by my cell phone.

What does that have to do with a blog? Only my awkwardness. I am attempting to use my Millenial knowledge to run my own website and blog, but my Generation X-ness is becoming all the more apparent in this process!

Today I am sending off a block that I designed to “100 Blocks” to see if I can get it submitted as one of the blocks they publish in the upcoming edition. I’m calling the block “Heart Beat”.

Whadda ya think? I’m still new to designing, as well as blogging, so you’ll be able to follow along with, and laugh at me while I try to figure everything out!